Tagine Cooking Guide: How to Use a Tagine for Authentic Flavour
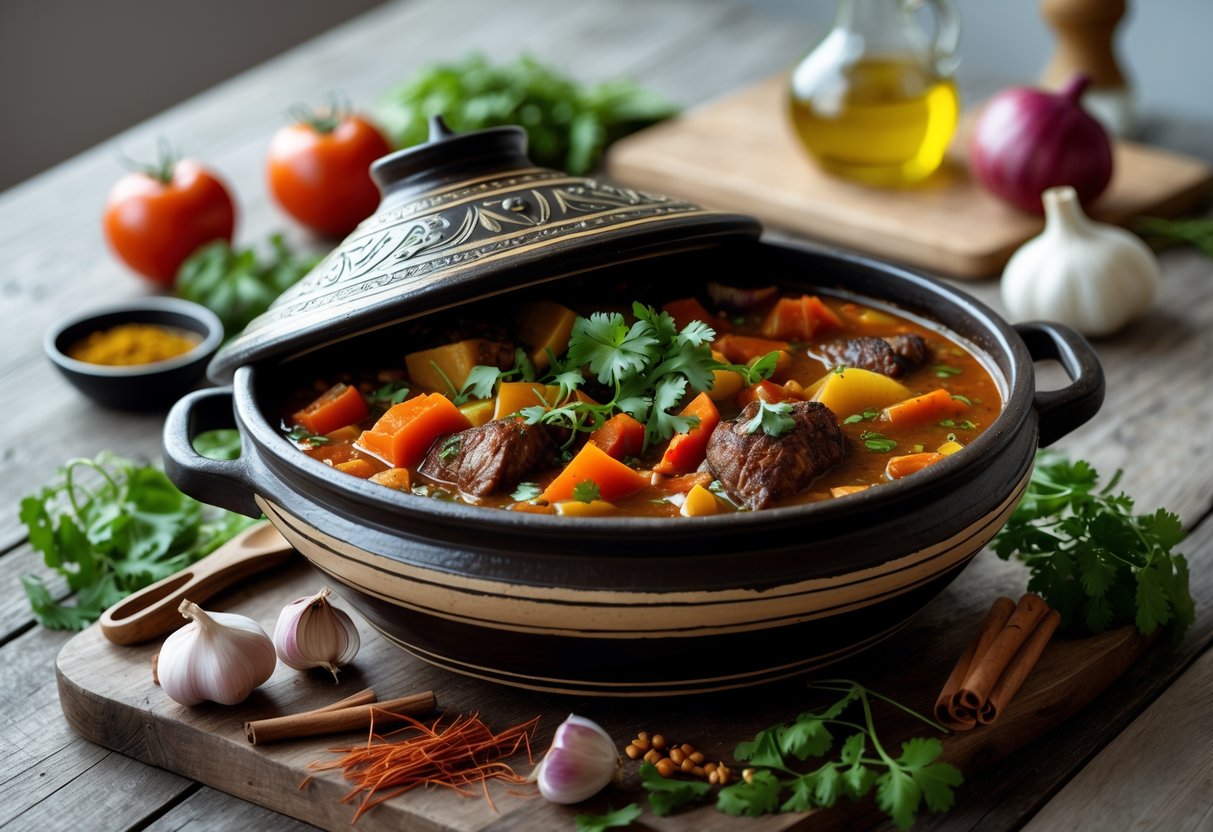
A tagine is a cone-shaped clay pot from Morocco. It creates a self-basting environment, trapping steam inside so meat and vegetables cook slowly with barely any liquid. The unique design lets moisture rise, condense on the cool lid, and drip back down, which keeps everything tender without much fuss.
If you want to use a tagine properly, you only need to follow a few steps: season the pot before the first use, always start with cold equipment to avoid cracks, use gentle heat with a diffuser on the hob, and give yourself plenty of time for that slow-cooked magic.
This technique shines with lamb, chicken, beef, fish, and veggie dishes. Aromatic spices like cumin, coriander, and cinnamon mingle with preserved lemons and olives. Cooking usually takes two or three hours, whether you use the hob or the oven.
You’ll end up with fork-tender meat and vegetables that soak up all those spices. Honestly, these dishes taste even better the next day.
A lot of home cooks worry about cracking their tagine. But if you prep it right and watch the temperature, these handmade pots can last for years.
The trick is to heat it up slowly, always use a diffuser on the stove, and never shock the clay with sudden temperature changes.
What Is a Tagine and How Does It Work?
A tagine is both a classic North African cooking pot and the slow-cooked stew you make inside it. The cone-shaped lid helps turn tough meat and basic veggies into tender, richly spiced dishes with very little extra liquid.
Origins and Cultural Significance
People in North Africa, especially Morocco, started using tagines centuries ago. They cooked one-pot meals over open fires and charcoal, making the most of scarce water and fuel.
Moroccan cuisine leans heavily on this method. Cities like Marrakech, Fez, and Casablanca all have their own spice blends and combinations, but the basic technique doesn’t really change.
The pot became so central to daily cooking that “tagine” now means both the vessel and the dish—kind of like how “casserole” works in the UK.
Tagine Pot Design and Function
A tagine pot has a wide, shallow base and a tall, snug-fitting cone lid. When you heat the base gently, moisture from the food rises into the cone, cools, and drips back down.
This cycle keeps the food basted without you having to lift the lid or add more liquid. An authentic tagine is usually made from unglazed clay or glazed ceramic, but you’ll find cast iron and other materials too.
If you have a clay version, you’ll need to season it before you use it. Always use a heat diffuser on a gas hob to protect it from direct heat.
Tagine as a Dish and Cookware
As cookware, the tagine loves low, gentle heat over a long stretch—usually one to two hours. It’s perfect for braising tough cuts of meat until they’re falling apart, while vegetables soak up all the aromatic juices.
People often add preserved lemons, olives, dried fruit, nuts, and spices like cumin, coriander, ginger, and saffron.
When you make a tagine dish, you layer aromatics and oil at the bottom, then add protein and sturdy veggies, and top with spices and a splash of liquid. The sauce thickens naturally as it cooks down.
You can use a heavy casserole or Dutch oven instead, but the texture and moisture won’t be quite the same as the real deal.
Types of Tagine Cookware

You’ll find four main kinds of tagine pots. Clay and ceramic ones offer that classic feel, cast iron is tough and holds heat well, and decorative tagines are just for serving, not cooking.
Traditional Clay Tagine
Unglazed clay tagines are the real deal for Moroccan cooking. North African artisans shape each one by hand, and the porous clay soaks up moisture, releasing it slowly as you cook.
Before you use a clay tagine, you’ll need to season it. Soak the base and lid for several hours, rub them with olive oil, and bake at a low temperature.
This strengthens the clay and helps prevent cracks. You can use these tagines on gas or electric hobs and in the oven, but always with a heat diffuser on the stove.
Start with a cold pot and warm it up slowly. Most clay tagines have a bit of glaze inside, which makes cleaning less of a hassle.
Ceramic Tagine
Ceramic tagines are glazed, so they don’t soak up as much moisture and they’re easier to clean. You can skip the initial seasoning process with these.
The glaze resists stains from spices and doesn’t absorb strong flavours from things like preserved lemons or tomatoes. Many ceramic tagines are decorated with colourful designs, though that’s just for looks.
You still need a heat diffuser and to heat them slowly. Ceramic is a bit more forgiving than unglazed clay but can still crack if you’re careless.
The base sits flat, making it easy to use on modern cookers.
Cast Iron Tagine
Cast iron tagines are a modern twist on tradition. The base is enamelled cast iron, and the lid is either ceramic or cast iron too.
These heat evenly and hold their temperature, so you get consistent results. Cast iron doesn’t crack from temperature swings, so you can use it right on the hob without a diffuser, though lower heat is still best.
The heavy base won’t tip over and works on any cooker. These are pricier than clay, but they last and don’t need much pampering.
The enamel inside won’t soak up odours or stains. Some people find them a bit heavy, especially when you’re moving a full pot.
Decorative and Serving Tagines
Serving tagines are all about looks, with bright glazes and intricate designs. Moroccan artisans make these for presenting food, not cooking.
The clay isn’t fired hot enough to handle cooking heat. Use them for bringing your tagine dish to the table—just transfer the food from a proper cooking tagine.
The lid keeps food warm and makes for a dramatic reveal. Decorative tagines are usually smaller and look great on display.
If you’re buying one, double-check that it’s rated for cooking. Using a decorative tagine on the stove will almost certainly crack it.
How to Prepare a Tagine for First Use
A new tagine needs some prep work to keep it from cracking and to make sure it lasts. Clay tagines need soaking, oiling, and gentle heating to strengthen the pot and seal the surface.
Seasoning and Curing Methods
You have to season traditional clay tagines before you cook in them. This seals the clay and creates a protective layer so food won’t stick and the pot won’t soak up too much moisture.
Start by putting both the base and lid in water for at least two hours—overnight is even better for unglazed tagines. After soaking, drain the water and let them air dry for about 30 minutes.
The clay should feel damp, not dripping. Rub olive oil all over the unglazed surfaces, inside and out. Use about three tablespoons total.
Some people add crushed garlic to the oil for a bit of extra flavour.
Put the oiled tagine in a cold oven, then set it to 150°C. Leave it for two hours so the oil sinks in slowly.
Turn off the oven and let the tagine cool completely inside before you take it out.
Soaking and Oiling the Tagine
The first soak saturates the clay’s pores with water. This is especially important for unglazed tagines, which are more sensitive to heat shock.
Fill a sink or basin with cool water and submerge the base and lid, making sure no air is trapped inside the cone. The clay absorbs water, which helps keep it from cracking later.
After soaking, pat it dry with a towel. Coat all the unglazed surfaces with a thin layer of olive oil using your hands or a brush.
Don’t forget the outside of the base and the top of the lid—they need protection too.
Some manufacturers suggest oiling again after the first oven seasoning. Check your tagine’s instructions, as different clays might need slightly different prep.
Initial Heating and Cooling
You have to be gentle with temperature changes when working with clay pots. Sudden heat can crack a tagine before you even get to use it.
Always put the tagine in a cold oven and let it heat up as the oven does. Never put a cold tagine on a hot hob or in a preheated oven.
During seasoning, keep the oven at 150°C for two hours. The oil bonds with the clay at this low heat and shouldn’t burn.
You might notice a slight oily smell while it’s baking—don’t worry, that’s normal.
When the time’s up, switch off the oven but leave the tagine inside with the door closed. Let it cool naturally for at least three hours, or until it’s back to room temperature.
If you take it out while it’s still warm, you risk cracking it right away.
Preventing Cracks and Damage
Clay tagines can last for years, but they really don’t like sudden temperature changes or direct high heat. I always use a diffuser when I cook with a tagine on a gas or electric hob—it spreads out the heat and keeps things safe.
If you put a tagine right on a flame or electric coil, you’re pretty much asking for cracks. That direct heat creates hot spots and, well, disaster. A heat diffuser, that simple metal disc you can find at most cookware shops, sits between the heat source and your tagine. Problem solved.
Don’t pour cold liquids into a hot tagine or plop a hot one down on a cold counter. I let my ingredients come to room temperature before I start cooking, and I only add warm or at least tepid liquids. If I need more liquid while cooking, I heat it up in another pan first.
When I store my tagine, I leave the lid slightly ajar. This lets air move around and keeps away that musty smell. If I spot small surface cracks over time, I just repeat the oiling and gentle heating process to seal them up again.
Essential Equipment and Accessories
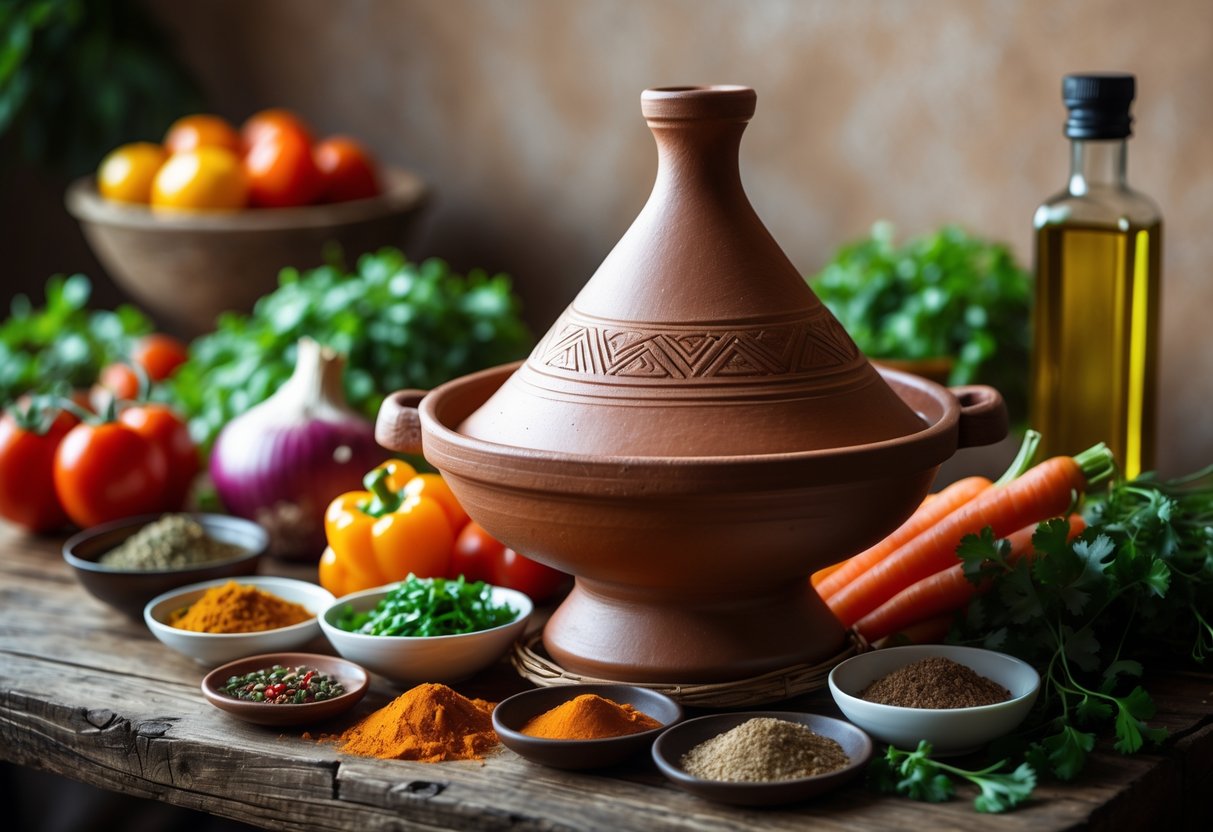
You don’t need much gear to start cooking with a tagine, but a few key items really make a difference. The right spices, proteins, and a couple of special ingredients can turn simple meals into real Moroccan stews.
Heat Diffusers and Accessories
A heat diffuser is non-negotiable for tagine cooking on any hob. It’s just a flat metal disc that sits between your burner and the tagine, spreading out the heat and preventing cracks. Most of them cost between £10 and £20—not a bad investment.
Gas hobs send all their heat to one spot, so diffusers help a lot. Electric hobs cycle on and off, which is even riskier for unglazed clay, so I never skip the diffuser there. It keeps the temperature steady.
I keep a trivet or wooden board handy to set down the hot tagine after cooking. Never put a hot clay pot on a cold surface. A long-handled wooden spoon makes stirring easy without having to lift the lid all the time and lose precious steam.
Basic Spices and Aromatics
Moroccan dishes rely on a distinct spice palette that gives tagines their signature taste. Cumin, coriander, turmeric, paprika, ginger, and cinnamon are the backbone. Ras el hanout, a blend that can have up to 30 spices, is a staple in many kitchens—though every family seems to have their own version.
Fresh aromatics are just as important as the dried ones. I always start with onions and garlic at the bottom of the tagine. Near the end, I toss in fresh coriander and flat-leaf parsley for a hit of brightness.
Saffron threads, if you can get them, take special tagines to another level. A tiny pinch steeped in warm water before adding it to the pot gives off that golden color and unique aroma. I adjust the heat with black pepper, cayenne, or sweet paprika, depending on my mood.
Key Proteins and Vegetables
Lamb shoulder or leg is my go-to for classic Moroccan stews since the fat keeps the meat juicy during long, slow cooking. Chicken thighs work way better than breast meat because they stay moist. Beef chuck or short ribs develop that deep, rich flavor after a few hours.
White fish like cod cooks quickly—30 to 45 minutes—and makes weeknight dinners easy. Chickpeas, whether tinned or soaked dried, turn out great in vegetarian tagines with hearty veggies.
Root vegetables like carrots, turnips, and sweet potatoes hold up well and don’t turn to mush. I add courgettes and aubergines in the first hour so they cook through but keep some bite. Tomatoes, fresh or tinned, bring just enough liquid and acidity to balance out rich meats.
Special Additions: Preserved Lemons and Dried Fruit
Preserved lemons give tagines that salty, tangy kick you just can’t get from fresh citrus. They’re cured in salt and their own juice for weeks, which creates a flavor all their own. I rinse them off and use only the peel for the most punch.
Dried fruits add a subtle sweetness that balances all those savory spices. Prunes and lamb are a classic combo, while apricots work wonders with chicken. Dates and raisins bring depth to veggie recipes. I always soak dried fruit briefly in warm water so they don’t soak up too much of the sauce.
Green or purple olives add briny depth at the end. Moroccan olives in brine beat the tinned ones every time. I like to scatter toasted almonds or sesame seeds over the finished dish for a little crunch.
Fundamental Tagine Cooking Techniques
If you want great results with a tagine, you need to get three things right: layering flavors, keeping the heat low and the moisture high, and giving everything enough time to get tender.
Layering Ingredients for Flavour
The order you add ingredients really matters for flavor and texture. Always start with aromatics like sliced onions, garlic, and ginger, softened in olive oil. Some cooks lay down celery sticks or extra onion slices to prevent scorching.
Put your protein right on top of that base. If you’re using meat, give it a quick sear in spiced oil first. This step builds a flavorful crust and lets the juices soak into the rest of the dish.
Arrange vegetables around and over the meat. Root veggies like carrots and potatoes go lower down, closer to the heat. Quicker-cooking ones like courgettes or peppers sit on top. The conical lid traps steam, which drops back through all the layers and spreads flavor everywhere.
I add preserved lemons, olives, dried fruits, and fresh herbs last. As the steam rises and falls, those flavors seep through the whole tagine.
Managing Heat and Moisture
Tagines don’t need much liquid—definitely less than typical stews. For four to six servings, I use just one to one and a half cups. The ingredients release plenty of juice, and the lid keeps moisture cycling back into the pot.
Keep the heat low and steady. Clay tagines always need a diffuser on the hob. I start with a cold burner, put the diffuser underneath, and slowly bring it up to low heat. Never preheat the burner or pour cold liquid into a hot pot.
You want a gentle bubble, not a rolling boil. That slow simmer breaks down tough cuts and lets the spices meld without burning or turning the sauce watery.
Timing and Temperature Control
Tagine cooking is all about patience. Bone-in chicken needs about an hour and a half to two hours at a low simmer until it’s falling-off-the-bone tender. Lamb or beef cubes take two and a half to three and a half hours to get fork-tender. Fish cooks super fast—just 20 to 30 minutes, so add it near the end to keep it from drying out.
Cooking time depends on the size and cut of the meat. Tougher cuts with more connective tissue need longer. When a fork slides right through, you’re good to go.
Temperature matters more than the clock. Low heat prevents burning at the bottom and makes sure the top cooks through. If the liquid drops too much, I add a splash of warm stock or water. I try not to lift the lid too often, since that lets out steam and slows everything down.
Classic Tagine Recipes to Try
Here are three recipes that show how a tagine turns simple ingredients into deep, layered flavors. Each one uses the same basic layering, but the proteins, spices, and aromatics change things up.
Moroccan Chicken Tagine with Preserved Lemons
This chicken tagine gets its punch from preserved lemons and olives. I start with bone-in chicken thighs or legs, since they stay juicy.
I layer sliced onions and crushed garlic in olive oil at the base, then arrange the chicken on top. I season it with ground ginger, turmeric, cumin, and black pepper. About 200ml of chicken stock or water goes in next.
After 45 minutes, I tuck in preserved lemon quarters and a handful of green or purple olives. The lemons add bright citrus without bitterness, and the olives bring salt and depth. I scatter fresh coriander over just before serving for a fresh finish.
The chicken cooks for 60 to 75 minutes on low heat until it’s tender. This tagine goes great with couscous or crusty bread to soak up all that sauce.
Lamb Tagine with Apricots and Almonds
This lamb tagine brings together savory meat, sweet dried fruit, and warm spices. I use lamb shoulder or neck, cut into big chunks so it doesn’t dry out.
I brown the lamb quickly, then layer it over onions and garlic in the tagine. In go cinnamon sticks, ground cumin, coriander, and a pinch of saffron if I have it. I pour in enough stock to come halfway up the meat.
After 90 minutes, I stir in dried apricots and a spoonful of honey. The fruit softens and its sugars blend with the spices. I toast flaked almonds and scatter them on top for crunch.
The lamb cooks for two to two and a half hours until it’s fork-tender. This is a great recipe for guests—the flavors are even better the next day.
Vegetable and Vegetarian Tagine
A vegetable tagine proves you don’t need meat for a satisfying dish. I build layers with sturdy veggies that hold up to slow cooking.
I start with onions, then add carrots, turnips, sweet potato, and butternut squash. Whole garlic cloves and preserved lemon quarters go in too. I season everything with paprika, cumin, coriander, and plenty of black pepper.
Chickpeas add protein and bulk, whether tinned or cooked from dried. I pour in vegetable stock mixed with a spoonful of tomato purée. Courgettes and peppers go in for the last 20 minutes so they keep their shape.
This tagine needs 45 to 60 minutes until the veggies are soft but not mushy. I finish with fresh coriander or parsley and serve it with couscous or flatbreads. The vegetables bring enough sweetness—you don’t need dried fruit here.
Adapting Tagine Cooking for Modern Kitchens
Modern kitchens make it easier than ever to cook with a tagine. The oven gives the most consistent results, but stovetop methods definitely work if you manage the heat and use the right tools. Most cookers can handle a traditional clay or ceramic tagine if you adapt things a bit.
Oven Versus Stovetop Methods
The oven is my favorite for tagines because it surrounds the pot with gentle, even heat. This way, I don’t have to worry about hot spots or cracks, and I can mostly leave it alone. I set the oven to 160–175°C and put the tagine in cold before turning it on. That gradual heating keeps the clay safe.
Stovetop cooking gives me more control and lets me peek at the dish without opening an oven door. I always use a diffuser to protect the ceramic tagine from direct contact with the flame or element. Gas hobs are steadier, but electric ones cycle on and off, so I keep an eye on things. Most recipes need two to three hours of gentle simmering on low heat.
Ovens tend to keep more liquid in the dish because the heat surrounds the lid and helps the condensation cycle. Stovetop cooking might need a little extra liquid now and then to keep everything moist.
Using Tagine Pots on Electric and Induction Hobs
Electric hobs will work with traditional tagines, but you’ll need to keep an eye on them. That cycling heat can cause the clay to expand and contract, which stresses the pot. I always reach for a thick heat diffuser and start off on the lowest setting. Give it 15 or 20 minutes to warm up slowly before you expect anything to start simmering.
Induction hobs? Tricky. Traditional clay and ceramic tagines just don’t have any magnetic metal, so they won’t heat up directly on induction. You can grab a flat-bottomed cast iron tagine made for induction, or just set your regular tagine on top of a big cast iron skillet.
On standard electric hobs, try to match the burner’s size to your tagine base. If it’s too small, the heat gets too intense in one spot. Too large, and you’ll waste energy and end up with uneven cooking around the edges.
Dutch Oven and Alternative Cookware
A heavy cast iron Dutch oven mimics tagine cooking pretty well if you can’t use the real thing. Its thick walls and tight lid help circulate moisture, even if it doesn’t have the dramatic cone shape. You can use it on any hob or pop it in the oven at 160°C.
The cast iron tagine is another solid choice. These modern versions look traditional but work on induction hobs. They’re heavier than clay, and the heat spreads a bit differently, but they’re tough as nails and you can toss them in the dishwasher.
If you want authentic flavour and don’t have a tagine, try a wide, shallow casserole dish with a domed lid in the oven. The real trick is low, slow cooking with just a little liquid, no matter what you’re using.
Serving and Presentation Tips
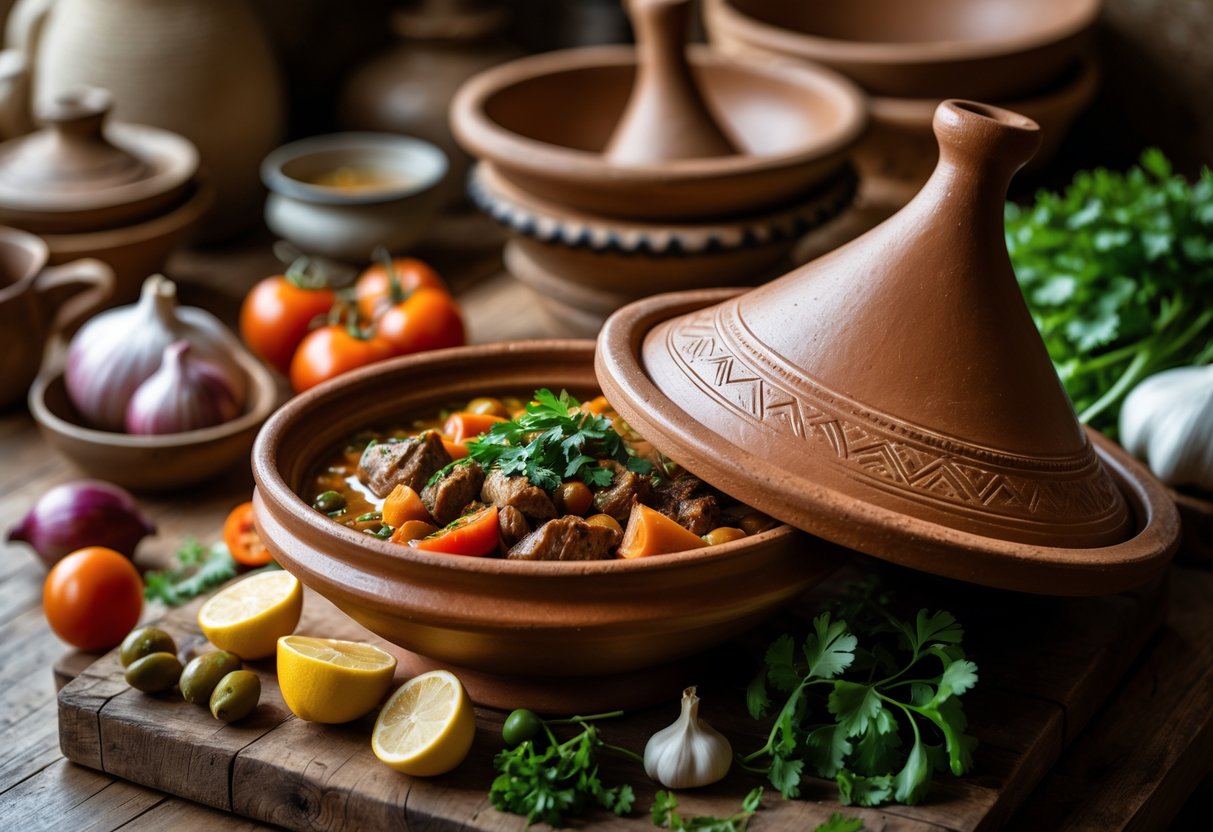
A tagine isn’t just a pot—it’s the centrepiece of the meal. It keeps food warm and looks impressive on the table. That conical lid traps steam while cooking and holds in heat when you serve, which makes it perfect for sharing in true Moroccan style.
Traditional Moroccan Accompaniments
Moroccan tagines shine brightest with the right sides. Fresh bread is a must—khobz (the classic round Moroccan loaf) is what locals use to scoop up meat, veg, and sauce straight from the pot. If you can’t get khobz, pita or a good crusty sourdough will do.
Moroccan salads bring a welcome contrast to rich tagine stews. A basic tomato and onion salad with olive oil and cumin can really cut through fatty lamb. Dishes like zaalouk (aubergine and tomato) or taktouka (roasted pepper salad) add smoky, tangy notes that balance out the meal.
Couscous usually sits on the side, not in the tagine itself. Steam it separately and serve in a shallow bowl, so everyone can spoon the sauce over fluffy grains. Sometimes, folks swap in rice or flatbreads, depending on what’s in the pantry or local tradition.
Preserved lemons, harissa paste, and extra olive oil should be close at hand. Let everyone tweak the heat or brightness to their liking.
Stylish Plating and Garnishing
How you arrange the tagine matters since you won’t stir it once it’s cooking. Take a minute to layer the veg and meat before you put the lid on—put the colourful bits like carrots, peppers, or apricots where they’ll peek out when you serve. Place the bigger chunks of meat in the centre, with veggies fanning out around them.
A sprinkle of fresh herbs makes a world of difference at the end. Scatter coriander, parsley, or mint over the dish right before serving. The pop of green looks great against rich brown sauces and golden vegetables.
Toasted nuts bring crunch and a little flair. Toss flaked almonds, pine nuts, or sesame seeds in a dry pan until golden, then scatter them on top.
A swirl of fruity olive oil or a spoonful of thick yoghurt looks lovely on veggie tagines. For meat, arrange whole preserved lemons or olives on top so guests spot them straight away.
Serving Tagine at the Table
Set the hot tagine on a heatproof mat or wooden board in the middle of the table. That clay or ceramic stays scorching, so warn folks before they lean in. Lift the conical lid slowly to let the aromatic steam waft out—cinnamon, cumin, saffron, all those good smells.
Moroccan style means everyone digs in together, scooping up food with bread straight from the pot. If your guests prefer, hand out small plates, but that’s not the traditional way. The tagine keeps food warm for a good 20 to 30 minutes, so there’s no rush.
Pile extra bread in a basket lined with a tea towel to keep it warm. Pour Moroccan mint tea into little glasses for a sweet finish. Set out small bowls for olive pits, bones, or scraps so the table stays tidy while everyone shares.
Cleaning and Caring for Your Tagine
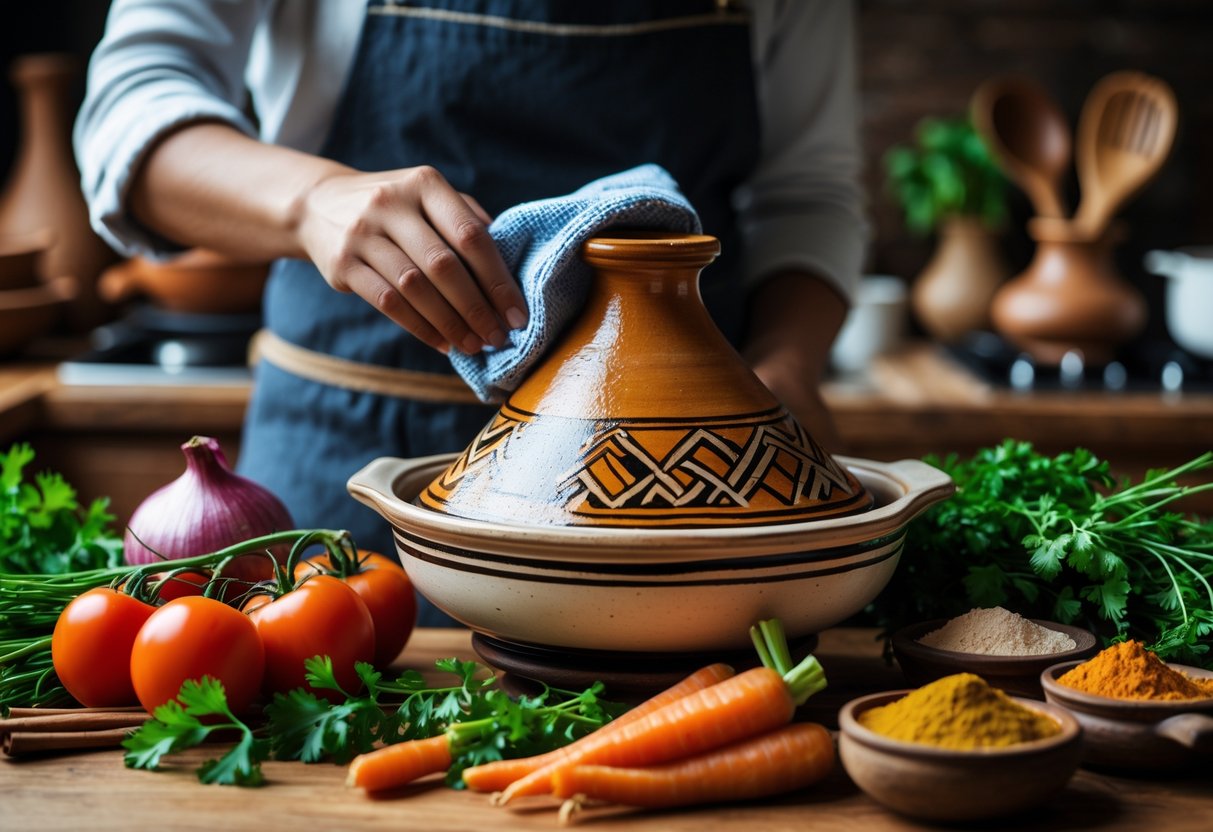
A tagine pot needs gentle care if you want it to last. Clay and ceramic soak up flavours and moisture, so you’ll need to treat them differently than your standard pots and pans.
Routine Cleaning Techniques
Let your tagine cool off completely before you wash it. Never pour cold water on a hot tagine—you’ll risk cracks.
For everyday cleaning, stick with warm water and a soft sponge. Glazed ceramic tagines can handle a little mild washing-up liquid. If you’ve got an unglazed clay tagine, stick to water only—the porous clay absorbs soap and passes that flavour on to your next meal.
Stubborn food bits? Mix up a paste of bicarbonate of soda and water. Rub it gently on the trouble spots with a soft cloth, then rinse well. To clear out lingering smells, fill the tagine with a mix of equal parts white vinegar and water. Let it sit for a few hours, then scrub lightly and rinse.
Dry the tagine right away with a clean tea towel, especially around the rim and any nooks. Give it at least two hours to air dry in a well-ventilated spot before you stash it away.
Long-Term Maintenance
Season a new tagine before you use it. Soak both the base and lid in water overnight, then let them dry. Rub olive oil over all the unglazed surfaces, pop it in a cold oven, and heat to 150°C. Bake for two hours, then let it cool down naturally in the oven.
Re-season the tagine once or twice a year to keep its protective layer in good shape. If food starts sticking, the surface feels rough, or stubborn smells linger, it’s time for another round of seasoning. Just repeat the same process as when you first got it.
When storing, leave the lid slightly open or rest it beside the base. This lets air circulate and prevents musty smells or mould.
Avoiding Common Pitfalls
Don’t ever put a tagine straight on a gas hob or electric ring without a heat diffuser. Direct heat can create hot spots that crack the clay. Stick with medium or low heat and warm things up slowly.
Never shove a cold tagine into a hot oven. Start with a cold oven and let them heat together, or let a refrigerated tagine come to room temp before cooking.
Skip metal utensils—they scratch glazed surfaces and ruin the seasoning on unglazed clay. Wooden spoons or silicone tools are much safer.
If you spot tiny hairline cracks, don’t panic—they’re usually harmless unless they go all the way through. But if you see deep cracks or breaks, it’s time to replace the tagine. Those will leak and won’t hold heat the way they should.
Exploring the World of Tagine: Further Inspiration
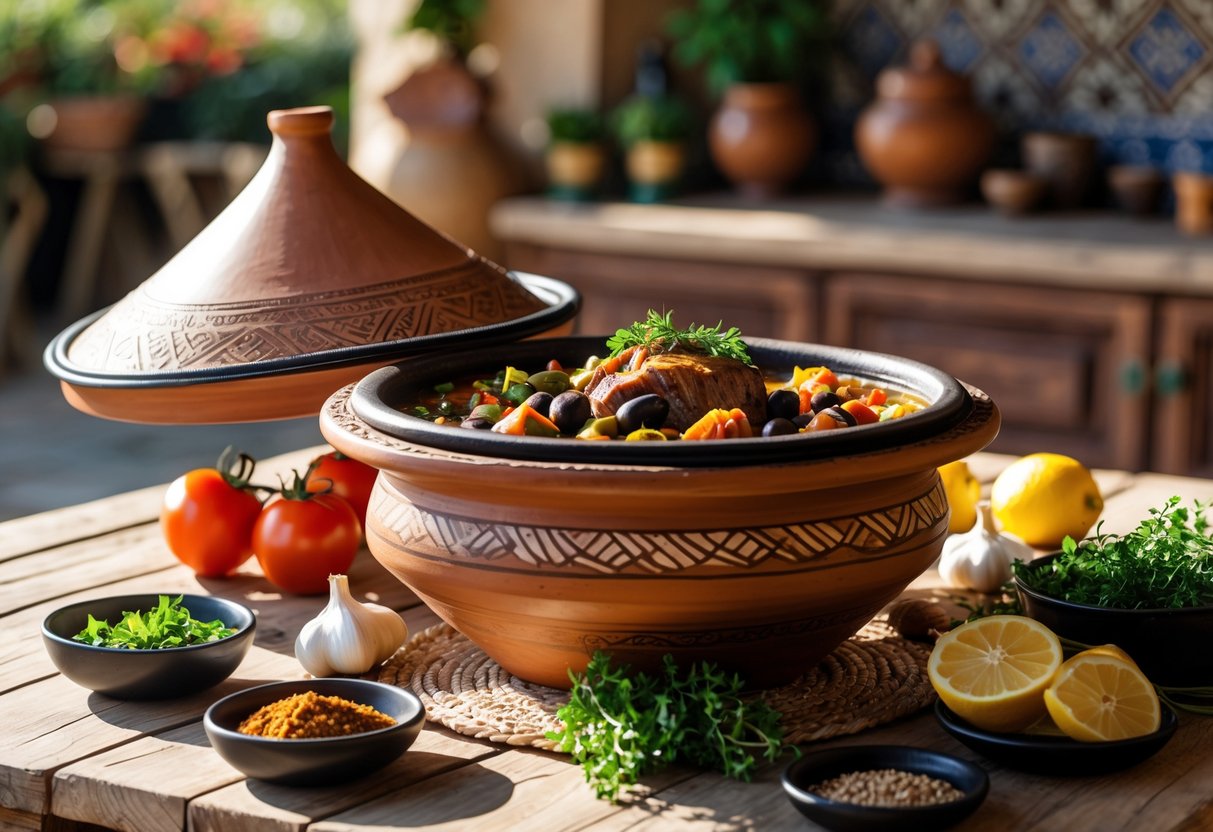
Once you get the basics down, a tagine becomes a blank canvas for all sorts of experiments. Moroccan spices play well with ingredients from other cuisines, and the slow-cooking style adapts to stews from just about anywhere.
Experimenting with New Tagine Flavours
Classic Moroccan stews use warming spices like cumin, cinnamon, ginger, and paprika. But honestly, the tagine’s gentle heat welcomes all sorts of flavours. Indian-inspired tagines with garam masala, turmeric, and cardamom are fantastic with lamb or chicken. Or try Middle Eastern blends like sumac, za’atar, and baharat for something bright and herby.
Dried fruits aren’t just about prunes and apricots. Figs bring earthy sweetness to lamb, dates make beef tagines richer, and sour cherries are great with duck. Fresh citrus can really wake up a dish too—try blood orange with chicken, lime zest in fish tagines, or grapefruit with root veg.
Balance is key. Start with onion and garlic as your base, and keep layering as you would for a classic tagine. Don’t go wild with changes all at once—add one or two new things at a time, so the tagine’s design can blend the flavours nicely.
Incorporating Tagine into International Dishes
Tagines are surprisingly versatile. French coq au vin works beautifully in a tagine—the lid keeps the chicken juicy while wine, mushrooms, and bacon meld together. Italian osso buco benefits from the gentle, even heat, so the veal turns out tender and never scorched.
Spanish-style stews are a natural fit. Chorizo with beans and peppers, or chicken with sherry and olives, get richer in the tagine’s self-basting environment. Even Chinese red-braised pork adapts well—just use star anise, soy sauce, and rice wine.
No matter the recipe, the approach stays the same: build aromatics at the bottom, layer ingredients by cooking time, use minimal liquid, and keep the heat low and steady. You can usually reduce the liquid by a third to half, since the tagine returns condensation to the dish instead of letting it evaporate.
Tips for Creative Slow-Cooked Stews
Texture keeps things interesting. Layer firm root veg at the bottom where the heat’s strongest, then add delicate courgettes, peppers, or greens in the last 15–20 minutes. Toss toasted nuts, seeds, or crispy onions on top just before serving for a bit of crunch.
A splash of acid brightens everything up. Stir in vinegar, lemon, or pomegranate molasses right at the end to perk up mellowed spices. Add fresh herbs just before serving to keep their colour and aroma.
Grains and legumes make hearty veggie tagines. Freekeh, farro, or pearl barley soak up all the good flavours, and chickpeas, butter beans, or lentils add protein and creaminess. These need a bit more liquid than meat-based recipes—usually three-quarters to one cup of stock—but you’ll still want to layer everything as usual.
Frequently Asked Questions
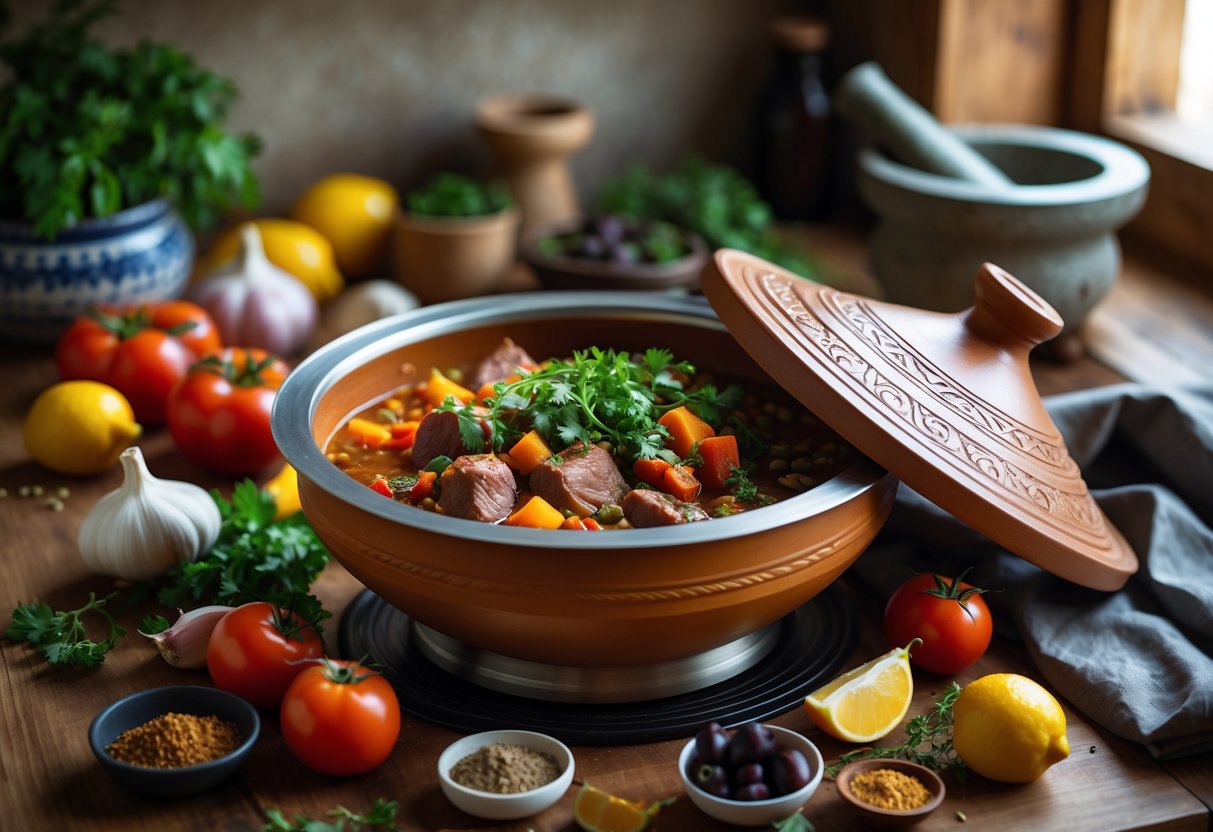
If you’re new to tagines, you probably have a few questions about seasoning, heat sources, and general technique. Here are some quick answers to the things people ask most often.
What types of dishes are best suited for cooking in a tagine?
Tagines are perfect for dishes that need slow, moist heat and deep, concentrated flavour. Lamb shoulder with apricots and almonds is a classic—the long cook time makes the meat super tender.
Chicken thighs with preserved lemons and olives really shine in a tagine. Dark meat stays juicy over a couple of hours, and the conical lid keeps it from drying out.
Vegetarian tagines with chickpeas, sweet potatoes, aubergines, and courgettes are incredibly satisfying. Root veg hold their shape and soak up the spices and aromatics. Fish and seafood also work well, but they only need about 30–45 minutes since delicate proteins cook fast.
Stews that combine meat with dried fruit—think prunes or dates—come out beautifully. The tagine’s shape intensifies those sweet and savoury flavours and breaks down tougher cuts like beef chuck or lamb neck.
Can a tagine be safely used on an induction hob, and if so, how?
You can’t use traditional clay or ceramic tagines directly on induction hobs. These materials just don’t have the magnetic metals that induction cooking needs, so the hob won’t even recognize the tagine or heat it up.
Some brands do make tagines with a metal base for induction, but honestly, they’re pretty rare. Always double-check the product specs before you assume your tagine will work with induction.
Most people find it easier to cook tagines in the oven instead. The oven gives you steady, all-around heat, and you don’t need any special gear. Just prep your ingredients, put the filled tagine in a cold oven, and then heat it up to 160-175°C for a couple of hours.
If you want, you can brown meat or sauté aromatics in a pan that works on induction first. Then, just transfer everything to your tagine for the oven. This workaround gets you the flavor you want, without fighting the limitations of induction.
Is it necessary to season a tagine before its first use, and what is the process?
You really do need to season a clay tagine before you use it for the first time. It’s not just a suggestion—it actually makes the clay stronger and helps prevent cracks, so your tagine lasts a lot longer.
Start by soaking both the base and the lid in water for anywhere from eight to 24 hours. This lets the clay soak up plenty of moisture, which helps protect it from sudden temperature changes when you cook.
Once it’s soaked, let the tagine air dry completely. Depending on the weather, this could take a few hours. When it’s dry, brush olive oil all over—inside, outside, and especially on any unglazed spots.
Next, put the oiled tagine in a cold oven. Slowly heat it up to 110°C, then leave it to bake for about two hours. Turn the oven off and let the tagine cool down inside. This slow process helps seal the clay and keeps it from cracking.
How does one prevent common errors when cooking with a tagine?
The worst mistake? Exposing your tagine to sudden temperature changes. Always start with both the tagine and the heat source cold, then warm them up gradually. Never put a cold tagine onto a hot hob or in a preheated oven.
High heat is another common pitfall. Tagines are meant for low and slow cooking, so keep the flame low to medium-low. If you crank it up, you risk cracking the clay or burning your food.
Pouring cold liquid into a hot tagine is a recipe for disaster. It causes thermal shock and can easily crack the clay. If you need to add liquid during cooking, only use warm water or broth. Honestly, it’s worth keeping a kettle of hot water handy just for this.
Lifting the lid too often lets out all the steam that makes tagines self-basting. Try not to peek more than once or twice while it cooks.
If you’re cooking on a gas or electric hob, not using a heat diffuser is a big no-no. Direct heat can create stress points and weaken the clay over time. A diffuser only costs around £10 to £20, and it’s a must-have for stovetop tagine cooking.
When using a tagine, do you always need to use a heat diffuser on a gas stove?
You really do need a heat diffuser if you’re using a clay tagine on a gas hob. The direct flame from gas burners causes hot spots, which can crack your tagine before you know it.
A diffuser—sometimes called a flame tamer—is just a flat metal disc that sits between the burner and the tagine. It spreads the heat out evenly, instead of letting it all concentrate in one spot.
These diffusers usually cost somewhere between £10 and £20. Place it on the burner ring first, then put your cold tagine on top, and only then turn on the heat.
Some people try to get away with just using a really low flame, but honestly, it’s still risky. Gas flames are just too direct, even when they’re turned down. For the price of a diffuser, it’s just not worth ruining your tagine.
Must you soak a tagine before each use, and what are the benefits of this practice?
You only need to soak a tagine before the initial seasoning, not every time you cook. That first soak—usually 8 to 24 hours—lets the clay absorb enough moisture to get ready for seasoning.
Once you’ve seasoned your tagine, you can skip soaking before regular use. Just toss in your ingredients, add some liquid, and get cooking. The seasoned clay can handle it.
Some cooks, especially those following older traditions, like to soak their tagines for about 10 minutes before each use. It’s not strictly necessary, but in dry climates, it might help prevent cracks.
The biggest reason for that first long soak is to stop thermal shock. When the clay is full of moisture, it doesn’t freak out as much with sudden temperature changes. That helps keep it from cracking during seasoning.
After seasoning, the oil coating steps in to protect the clay. If your tagine has been sitting unused for months, though, a quick 30-minute soak can help rehydrate it. This really matters if you’ve stored it somewhere dry.